30. Create Sandbox Database
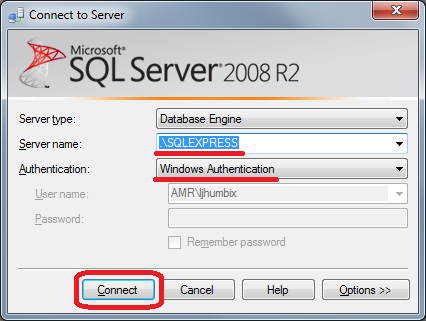
- Open SQL Server Manager in Administrator mode.
- Logon to server .\SQLEXPRESS using windows authentication.

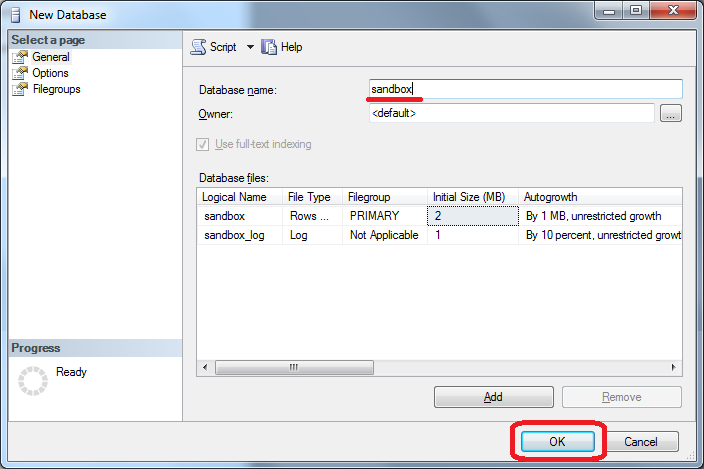
- In the Object Explorer, right-click on Databases and select context menu option New Database.
- In the New Database window, type in the Database name of “sandbox” and click [OK].
- Return to Visual Studio.
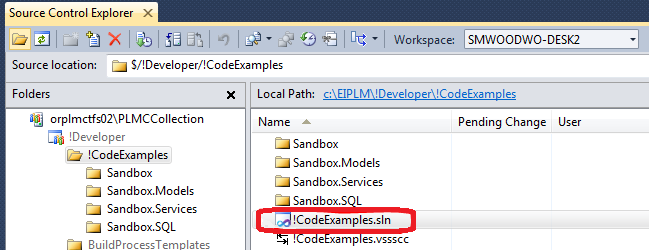
- From the Source Control Explorer, open solution $/!Developer/!CodeExamples/!CodeExamples.sln
- Build the solution.
- In the Sandbox.SQL project, double-click on file ProjectToLocal.scmp in the Schema Comparisons folder.
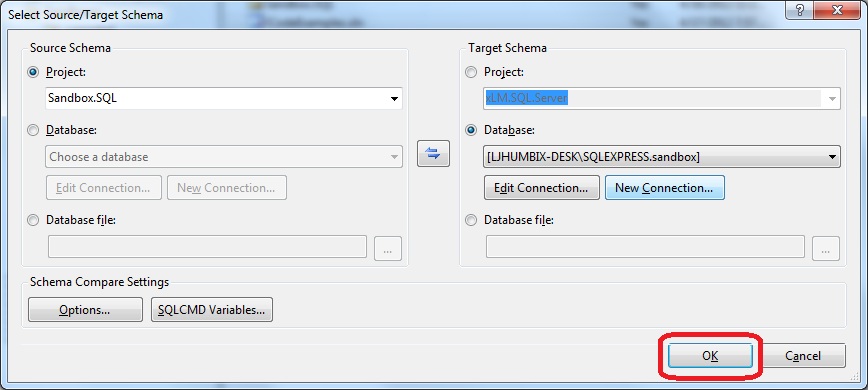
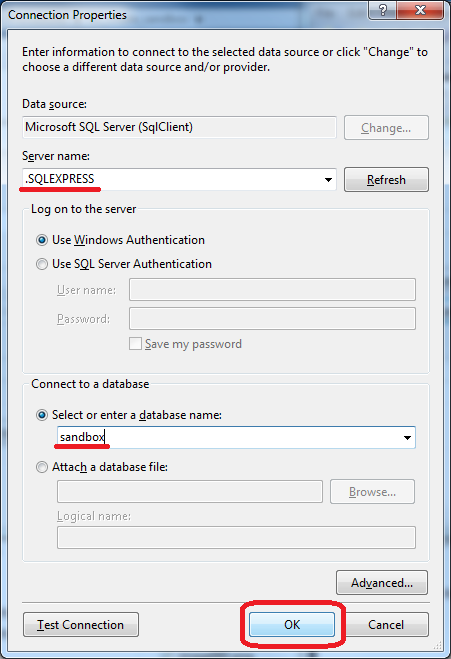
- In the Select Source/Target Schema window, click [New Connection].
- In the Connection Properties window, type “.\SQLEXPRESS” in the Server name field.
- Select the sandbox database.
- Click [OK].
- Click [OK] in the Select Source/Target Schema window.
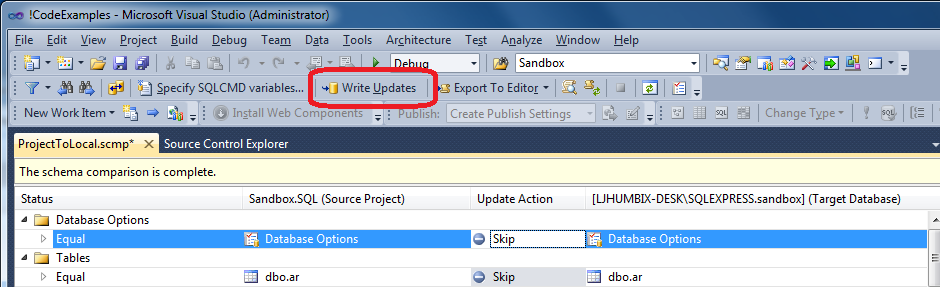
- In the SQL Toolbar, click the Write Updates icon.
- Close the ProjectToLocal.scmp editor window, do not save changes.
- Undo changes to file ProjectToLocal.scmp.
- Close the !CodeExamples solution and return to your Sandbox project solution.
- Return to SQL Server Manager.
- Execute the following script:

 use sandbox
go
exec prc_initialize_data
go
use sandbox
go
exec prc_initialize_data
go
- Verify the script runs without error.
- Close SQL Server Manager.